Showing posts with label fabric crafts. Show all posts

Monday, January 21, 2013

Pink Pettiskirt

I made a bright pink pettiskirt for my niece for Christmas. She's almost one and a half, and it turned out to be a little big on her. Plus, I was in a rush to make it and I may (or may not) have made a few mistakes along the way. But at least she can grow into it! And it'll fit her for a while because I made the waist adjustable with elastic and ribbon.


Here's an image I made of it dissected so that you can understand how it goes together and how to make your own. Also, try only making 2 chiffon tiers instead of three.


It takes a while to sew because it's so much fabric and you have to gather all of the fabric at some point. So give yourself plenty of time!

While I didn't get any pictures of her wearing it (or my other niece who is 2, who it actually fit), you can still see how fun it is.


Some tips:

This skirt is supposed to be 2 layers. So you essentially make the same skirt with all this fabric twice, then sew them both to the satin at the top. I only made one layer (because of time constraints) but I really wish I'd been able to do two! It's still super cute as it is, but twice the ruffles would have made it a little fuller.

If you can find it in 4-inch or 5-inch wide spools of non-fray chiffon, get it. It's easier than cutting all of it. If you can't find it that way, I figured out a pretty good way to cut it. Carefully accordion fold and pin the selvage edges together, so that your folds are only about 2 feet wide. Lay the fabric on your cutting mat, and straighten it out so that it's as square and neat as you can get it. Starting from the bottom (where the pins aren't) place a yardstick across the fabric at the width it needs to be cut, and while you firmly press the yardstick down to hold the fabric in place, use a rotary cutter to slice through all the layers, making all the strips of fabric you need. It can be a little tricky, but it saves a lot of time.

A serger works way better than a zig-zag or other finishing stitch the average sewing machine makes. Finish all the edges before you start gathering and stitching tiers together. Otherwise you'll have a mess of frayed edges and you can lose some of your fabric width because of it.


Mark the halfway and quarter points of each tier so that you can match it up to the next tier's half and quarter points, keeping your gathers relatively even.


For additional tips and a tutorial, check out this one. I based mine off of it. It's pretty well done and quite thorough!

Wednesday, December 19, 2012

Not-So-Ugly Christmas Sweater

Bob and I attended a White Elephant/Ugly Christmas Sweater party over the weekend. The problem is, neither of us have ugly Christmas sweaters.

We went to a few thrift stores a couple of weeks in advance and they were picked dry of everything Christmasy.

So I opted to make them.

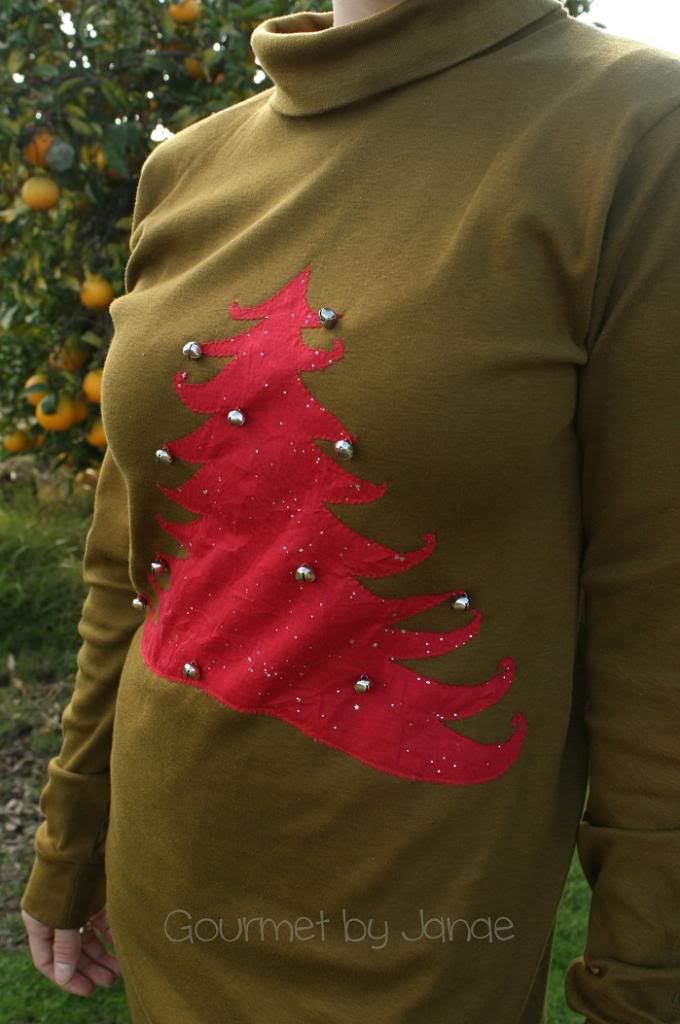
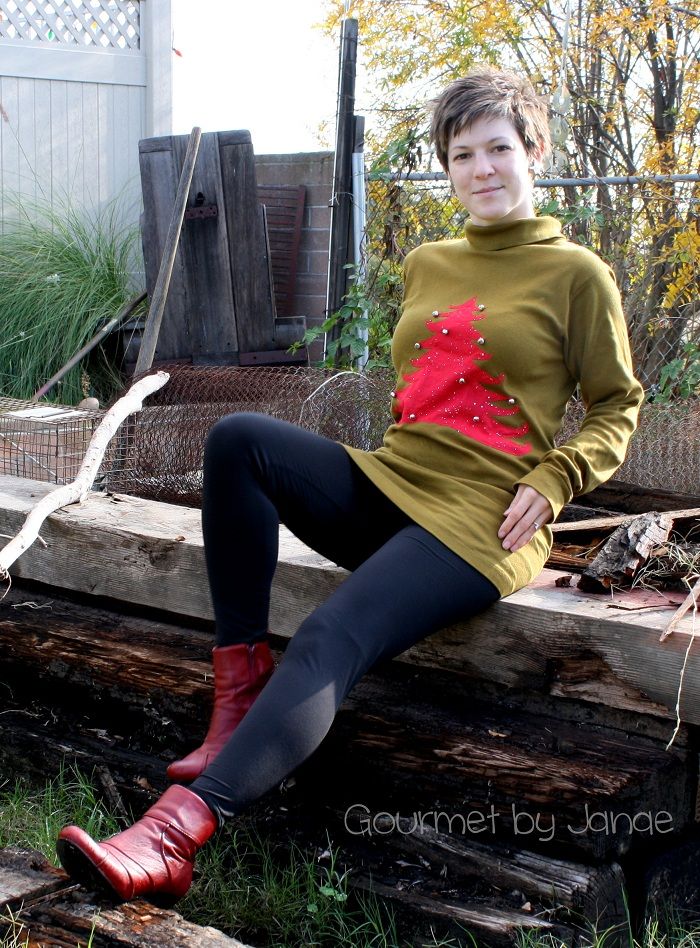
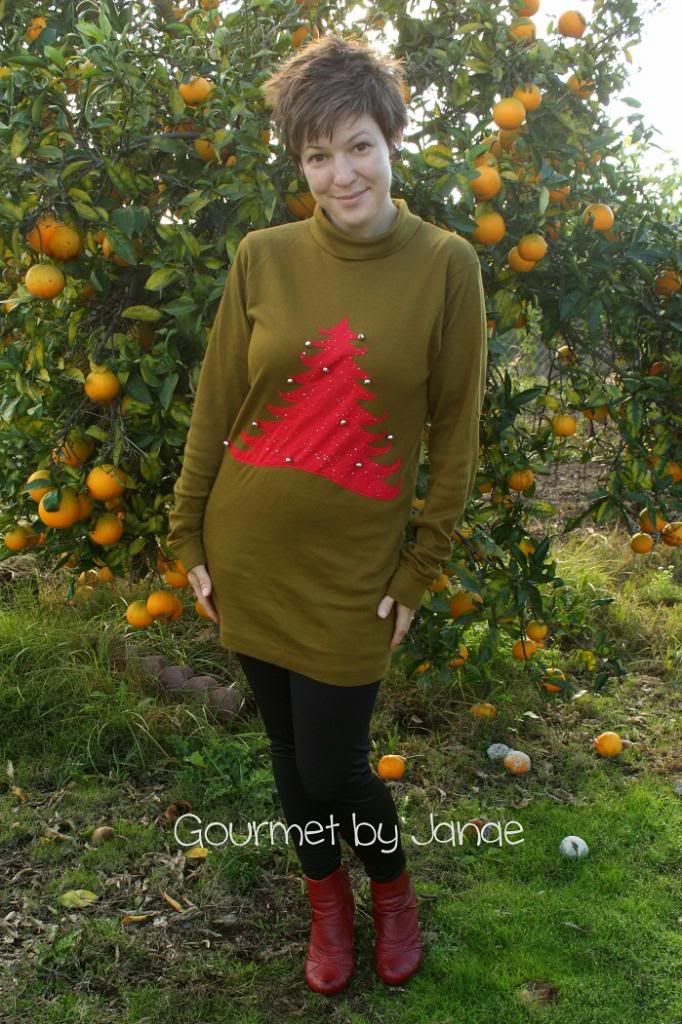
I found a long turtleneck shirt that is an awful baby-poop green (I know this color from many dirty-diaper experiences) and decided that the awful color would make for something wonderfully ugly.

Boy was I wrong.

It turns out that I can't make ugly things.


You like how I'm leaning back against an invisible... something?


After getting home, I looked at the tag on the inside and it turns out that it's a men's big and tall shirt. Ha!

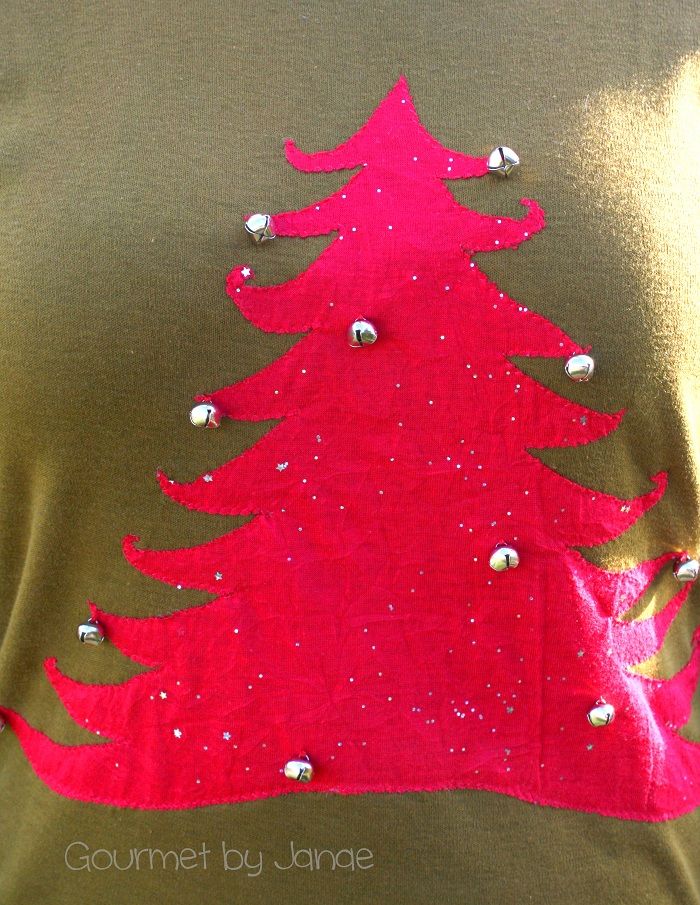
I have a bunch of bright red crushed jersey knit with coarse silver glitter on it. I drew a Christmas tree on some scrap paper, and used it as a pattern to cut a tree out of the red jersey.

I used clear thread (it's like really fine fishing line that I've seen quilters use a lot) and zig-zag stitched around the edges of it, being very careful and using the hand wheel of my machine a lot. Then I topped it all off by hand-sewing bells onto the tree as ornaments.


It sounded tacky in my head. But it didn't translate as tacky onto the shirt. I'm really not that upset over it, I guess.

I went to Costco for lunch on Monday (because I was craving a Polish dog) and as I was walking through the parking lot pushing Graham's stroller, a girl stopped me and asked where I had gotten my cute sweater. When I told her I made it she was surprised, and then sad that she couldn't get one for herself.


I wish I could bulk order some long turtle neck shirts in this color because then I'd make more to sell. Maybe next year.

Monday, December 17, 2012

Car Caddies

I love these things. I've seen a few basic tutorials for these, but (me being me) I'm not satisfied with plain, basic anything. No, no--I need everything I make to be a work of art (because I"m anal crazy OCD just that way).

I've made a few of these before, and I generally use whatever fabric I have, because leftover scraps from previous projects are awesome for these things. Plus, it makes each one more individual and unique. I also rarely use a pattern. I just know the size it needs to be and then I make up the design for the road on my own. It's been different every time.

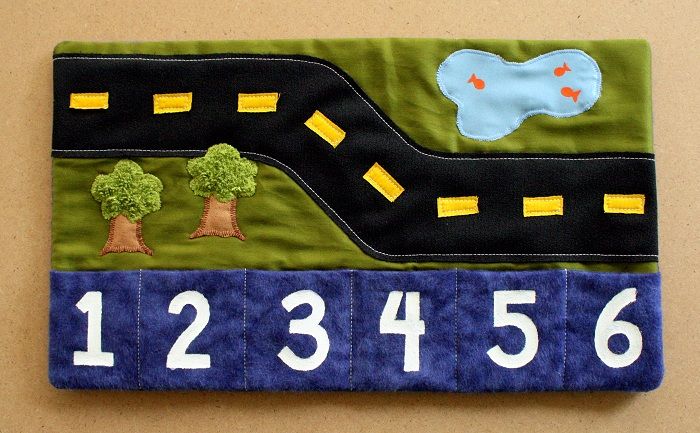
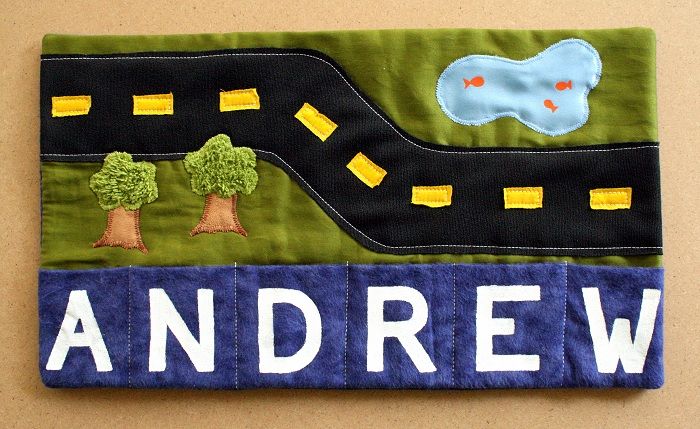
A few months ago my friend Holly asked me to make a personalized one for her son, with his name on the pockets instead of numbers. I was swamped with other projects at the time (and let's be honest, when am I not?) so I planned to have it done and to her by Christmas. Then my cousin Marissa asked me for two as Christmas gifts too.

So I made a pattern this time, because it was easier to cut all the little tiny pieces of fabric out all at the same time, and then do each step on all three at the same time. I also have a feeling I'll be making more of these in the future, and a pattern will help them go quicker.

Here's how these turned out this time around.


Can I brag for a minute here? The numbers/letters are painted on using white acrylic paint. I free-handed these! No stencils used! It did take longer than using a stencil, but I was curious about whether I could do it or not. Survey says... I succeeded.

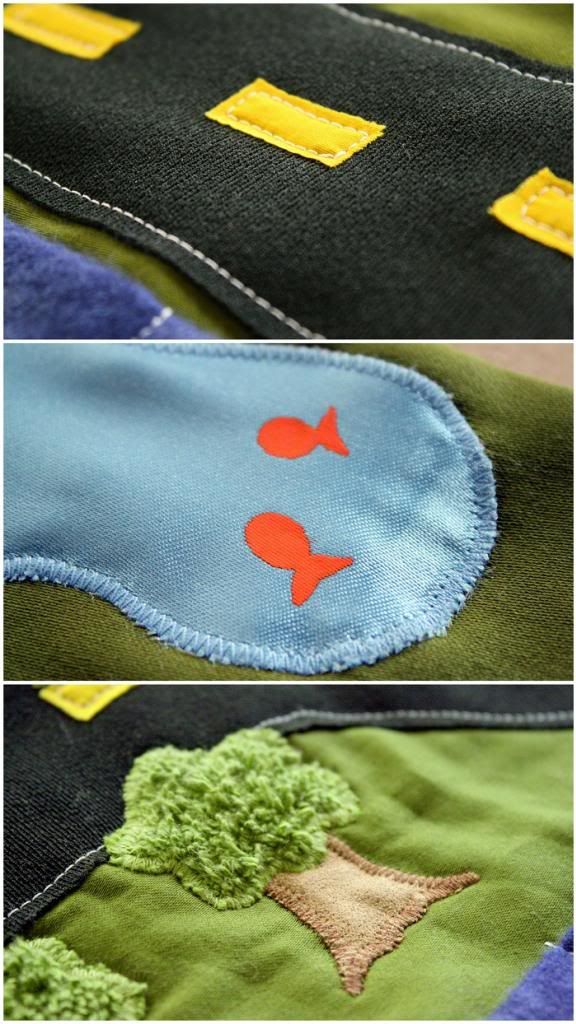
I did something new on these ones too, and I really like it. I used some fabrics with various textures for different little details in it. The road is a rough polyester, the pond a shiny satin, the tree trunk is suedecloth, and the tree leaves are terry cloth.  I used orange acrylic paint and did some very careful painting to get those fish in the pond.


Isn't that cute and fun?!

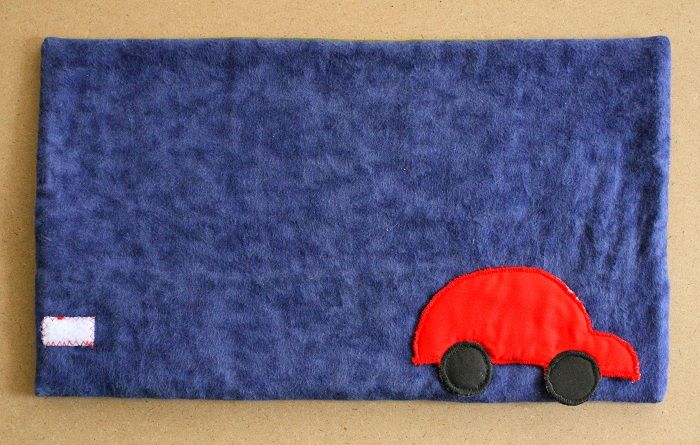
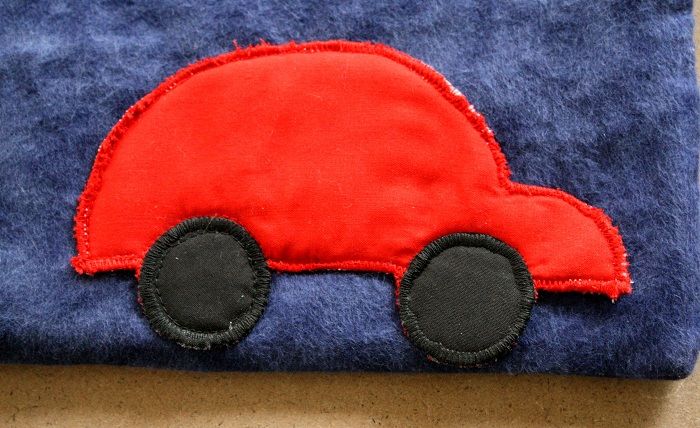
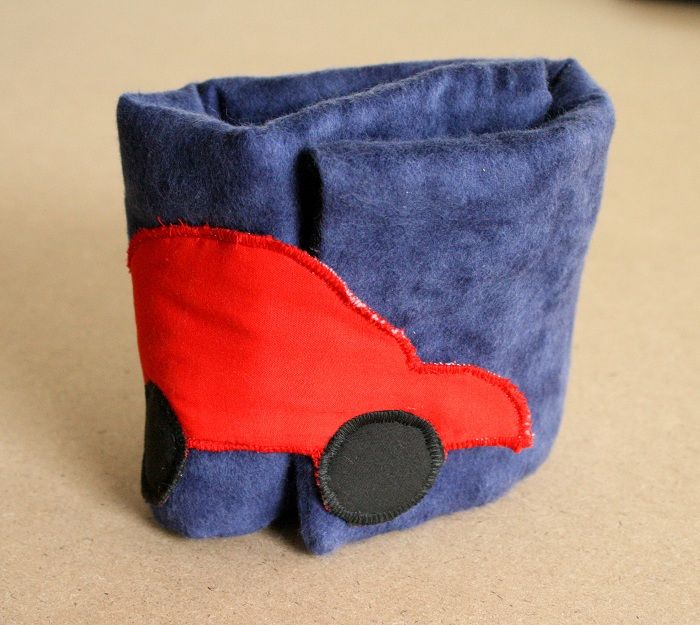
I couldn't just use webbing or ribbon for the latch to keep it closed. Of course not. I made a velcro latch for it in the shape of a car.


I'm pretty happy with these results. What do you think?


Monday, December 10, 2012

Abstract Peacock Throw Pillows

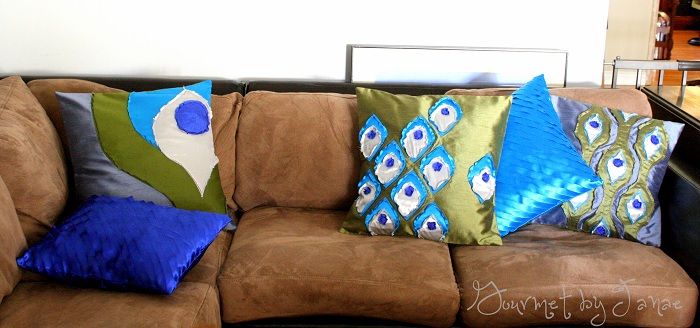
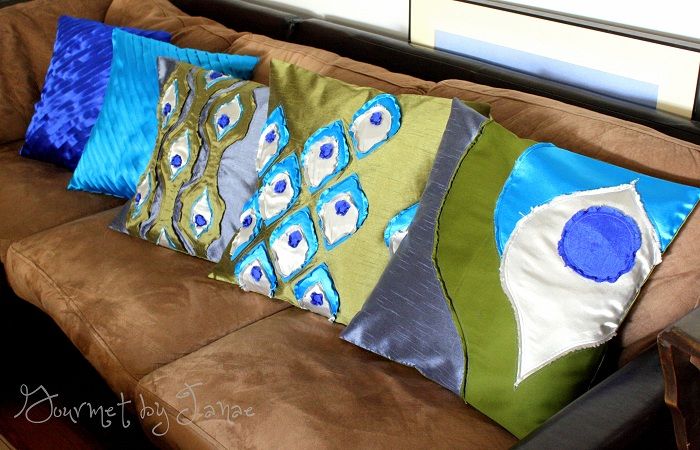
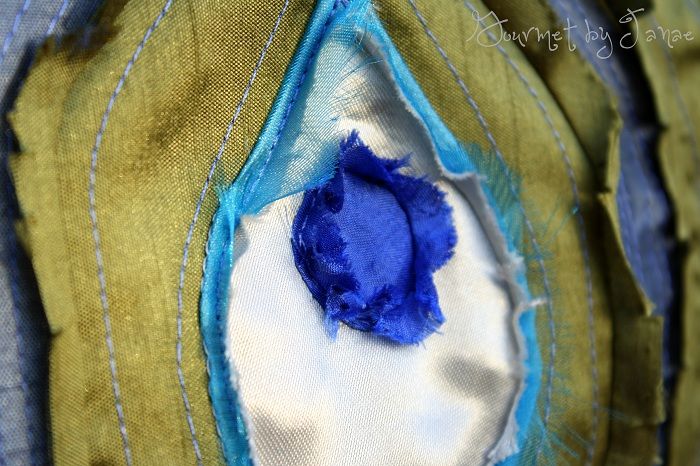
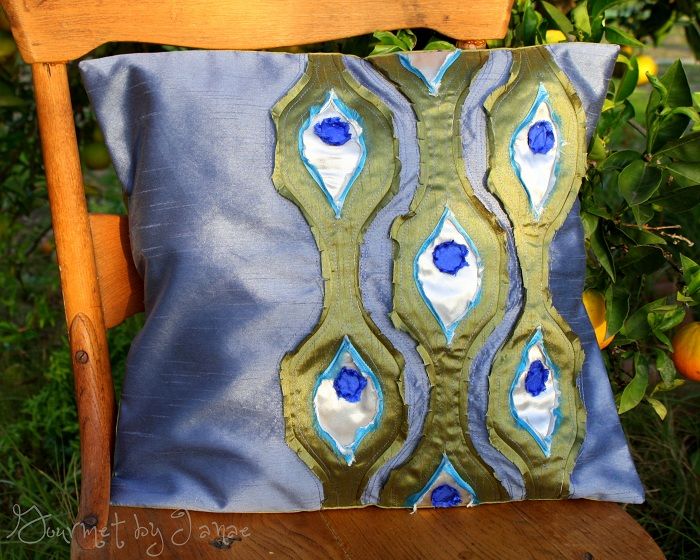
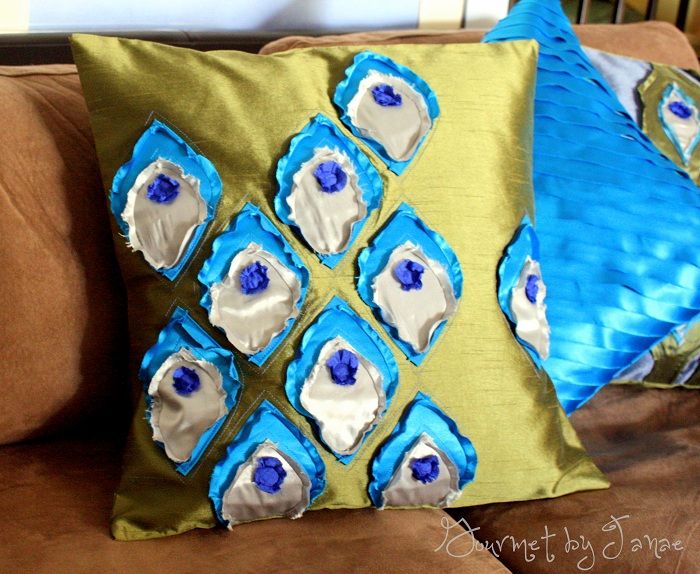
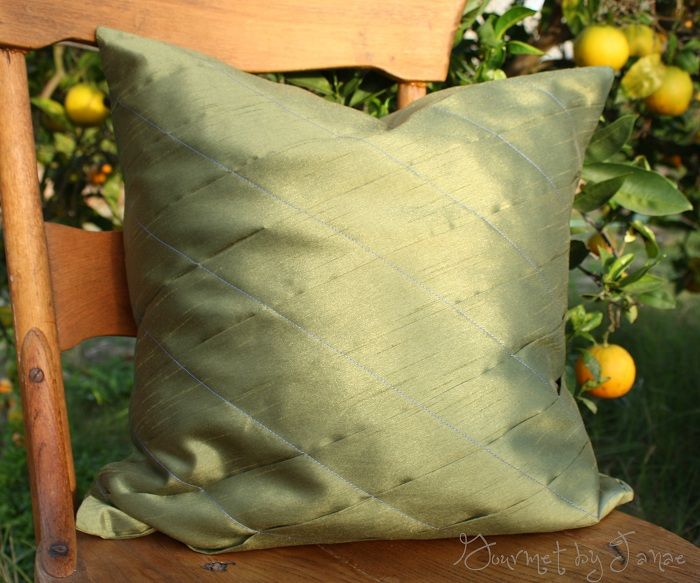
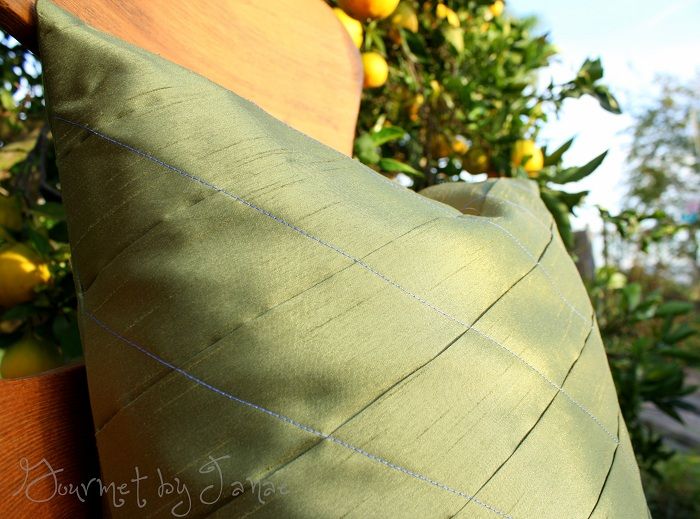
You may remember the post I did a while ago about the throw pillows I've been making for my sister-in-law. I finally finished the whole set! I love how they turned out. Here they are.


I like the color scheme she chose. I also really like how all of these shapes go together to give you the impression of peacock feathers without blatantly showing one.

I really like this applique technique that I came up with. I've never seen anything like it, but I love the exposed raw edges. It just takes a while to do. It's a good thing I'm sort of patient.


I love these feathered pillows with the surprise of color peeking out from underneath the layers. I think they're fun.


My favorite one is the last one I made. A combination of the colors, the design, the pattern and placement of the applique... There's something about it I find really aesthetically pleasing.


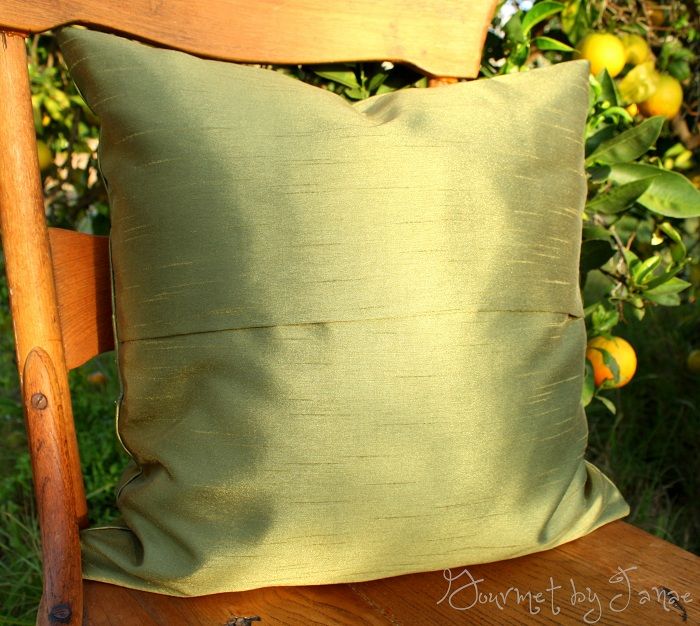
All of them have sham-style openings in the back and are all machine washable (a must-have for anyone with kids).


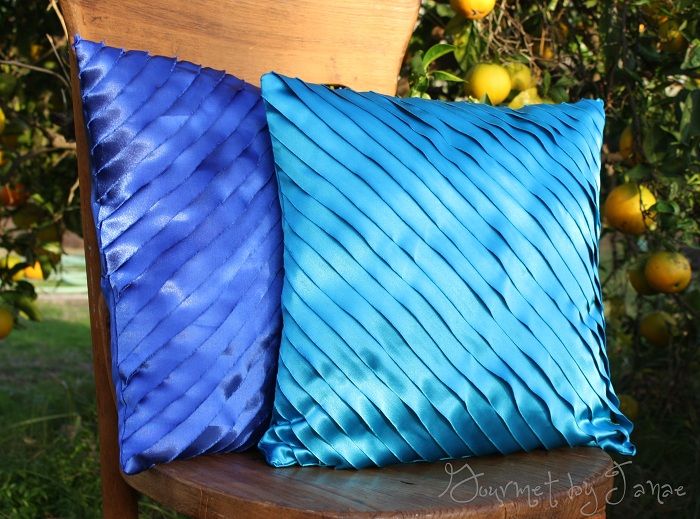
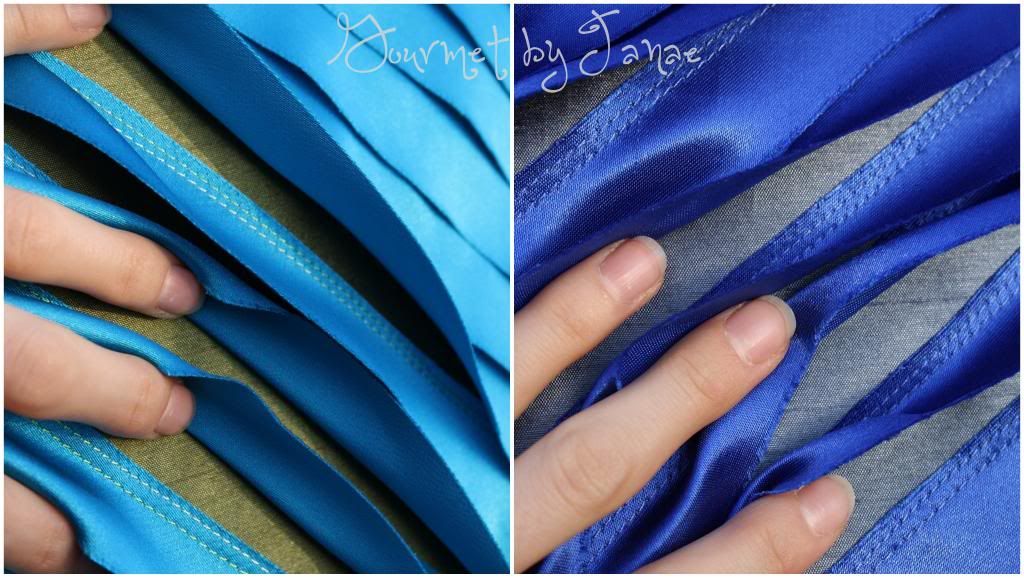
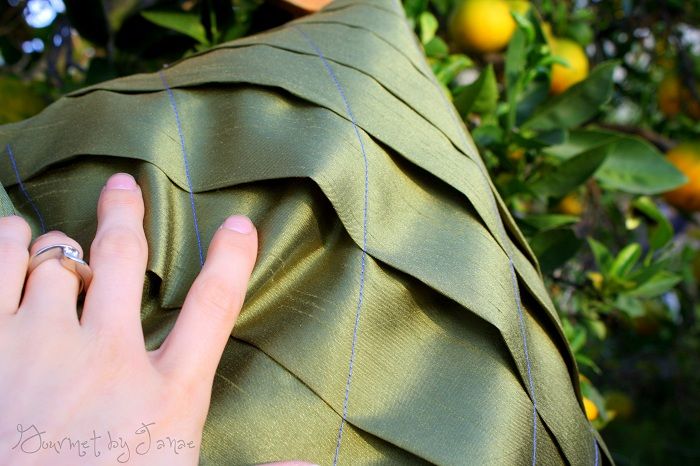
Along with these, I made one extra throw pillow for fun. It has large pleats that are sewn in place, creating little pocket-like structures all over it. This makes for an interesting texture on the front.


The good news for you: this one is for sale! 
Go see it in my Etsy shop. 
And thanks for stopping by.


Linked up to:

Monday, September 17, 2012

Simple Personalized Cotton Baby Blanket

I love living in Southern California. The weather is pretty constant year-round, even if the ocean is often on the chilly side. There are several weeks in the summer that get really hot though. It doesn't last long, well, compared to my childhood towns in Louisiana or Tennessee. The coastal heat is far more tolerable than the muggy, humid heat that the South bears.

Having an infant through the summer can be difficult when it gets hot (although I'm sure being pregnant through the hot summer is probably far more miserable). We had a challenge with nap time for Graham in those hot weeks since we didn't have air conditioning. Graham needed to be swaddled, but all we had were cozy flannel blankets. He slept like a furnace as it was, so being swaddled in a warm flannel blanket was just more than I was willing to let him do when the temperature reached 90 degrees some days.

I found some plain cotton fabric and decided to make him a few simple blankets out of it. He still slept warm, so we'd swaddle him and then take a spray bottle filled with water and just spray the blanket down until it was pretty soaked. That kept him cool on the hottest days and he napped pretty comfortably.

Recently, however, I went to get him out of his crib and he had rolled over from his back onto his stomach. It was time to throw swaddling out the window. Surprisingly, it only took two days for Graham to adjust to not being swaddled during sleep time. He's always been a pretty good sleeper. Well, not at sleeping through the night, but when it's time to nap or go to bed he generally lays down quietly and goes right to sleep without a fight. Sometimes he'll lay there and just talk to himself for a few minutes before drifting off, but he does typically fall asleep very well. We did start from day one to establish that habit and so far it's been working out really well.

Anyway, Graham loves his cottong blankets. Sometimes if he's tired and he gets a little fussy, I'll stick his pacifier in his mouth, hand him his blanket, and he'll wad it up around his face, close his eyes, and immediately go to sleep. I find it amazing that he can sooth himself with the right couple of things. He's really an incredible baby boy.

So back to these blankets I made. I'm not a fan of hemming things--dresses, skirts, pants (well, pants aren't so bad), I just get bored of hemming things. I find it so boring. Turning under the edges of a blanket are exactly the same thing to me and I did not feel like doing that for these blankets.

So I got creative.
And then I got more creative.
I ended up with a decorative edged monogrammed blanket.
And I love it!


Here's a tutorial on how to do it yourself.

Supplies:
woven cotton broadcloth or cotton gauze fabric
accent colored thread
paper
sewing machine
scissors


First, tear it down to size. Literally, you get to tear the fabric. Determine the size you want it to be, make a snip where the size will be right, and tear the fabric tdown to the length you want each side to be. You'll get a few stray threads coming off the edges, so just pull those off and continue on.


Here's a quick lesson on fabric. When it's made, the individual little threads are supposed to cross eachother at 90 degree angles. This is called "on grain." However, with dying, printing, and winding fabric on spools or bolts, those 90 degree angles usually get contorted and rarely stay 90 degrees, which is called "off grain." If you've ever had a t-shirt that has a side seam that doesn't go straight down your side but ends up curving around to the front or back, you've experienced this annoying phenomenon. Before the shirt was made they didn't get the fabric back on grain and there's no way it will ever lay flat or straight.


So when you have a woven fabric and you use this tearing method, it actually rips all the way down a single thread and then you can pull and stretch the fabric to put it back on grain and get those 90 degree angles back. But if I'm just making a blanket I'm not going to bother with the latter part.

Next, finish the edges.I have a few decorative stitches on my sewing machine, so I picked one and went with it.

I used stitch number 4 for the edges, and number 15 for the monogrammed letter.


I stitched about an eight of an inch from the torn edge, leaving some fringe around the outside of the blanket. Then pull off any threads that are parallel to the edge, leaving the nice fuzzy fringe-like threads.


You can leave it like that, or you can add a cute monogrammed letter to one corner by following the next steps.

Write or print the correctly sized letter(s) you want on a sheet of paper. I did a lower-case letter g for Graham's name. (And I used an expired coupon because I didn't want to waste a whole sheet of pretty new paper.)


Pin the paper to the blanket where you want it to be monogrammed. (You see where this is going, don't you?) If your fabric is sheer, you can pin the paper underneath the fabric, but of your fabric is not very see-through, you'll want to pin the paper over the top of it.


Pick the stitch you want to use. (I like the triple straight stitch setting on my machine.) Slowly sew along the line of the letter on the paper, stitching through both the paper and the fabric. Use your hand wheel more than your foot pedal so that you get your curves and lines precise. Leave your needle down and raise the presser foot when you need to turn your fabric for more dramatic curves, putting the presser foot back down each time you begin to stitch again. It only takes a few minutes to do a single letter if you do it carefully and slowly. Be sure to backstitch or leave extra thread for hand knotting at the beginning and end of each line you sew to keep the thread from unraveling.


Carefully tear off the paper once you've finished stitching on it, making sure not to pull out any of the stitching.


And voila!

An adorable personalized baby blanket!


The possibilities for this technique are pretty endless. You can use it on clothing, on quilts,  for wall decor, etcetera. If you decide to try this, please let me know! I'd love to see the ideas and projects you come up with!

I'm also planning on making and selling a few personalized blankets like this soon. Check my Etsy shop in the coming weeks to see what will be available!

Wednesday, July 25, 2012

My first milestone means... Giveaway time!

Guess what!

I woke up this morning (After sleeping in until 10!! Holy cow, my husband is the best.) and when I checked on my blog I cheered and yelled to previously mentioned best husband, "I have 1001 pageviews on my blog!" (And it's up even higher by now!)

From the title of this post, can you guess what that means?!


Time for my first ever giveaway!

If you like the headband I posted about this morning, then you can win the one I used to demonstrate the steps for the tutorial!

I call it 'Love and Polka Dots' because it's made from pink, red, and black/white polka dot fabric.
And it's super cute!
( Like my sweet son, hence the picture with both.)


Enter here:

a Rafflecopter giveaway


That's it! Now go and tell all of your friends to come and enter too!