
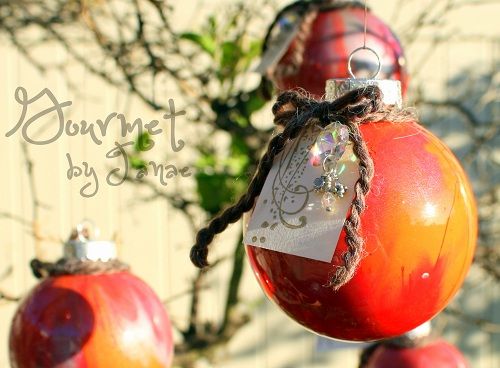
One of my all-time favorite decorations she made were these beautiful marbled globe Christmas tree ornaments.

They're easy as can be and really inexpensive. I made 10 for about $15. Best of all, you can make them whatever colors you want, which makes it simple to coordinate the colors that your tree and room are decorated in during this holiday season.
Here's all you need:
clear globe ornaments (I used plastic ones. glass ornaments + a baby = bad idea)
acrylic paint (in whatever colors you like--I went with reds since trees are green)
twine, beads, or other dangly decorations you so desire (or none at all)
waxed paper


1. Remove the silver tops from the ornaments and set them aside.

2. Squeeze a small amount of paint into the ornament. Use each of the colors you'd like, but make sure that all the paint combined isn't more than about a tablespoon, or even less if you're making small ornaments.

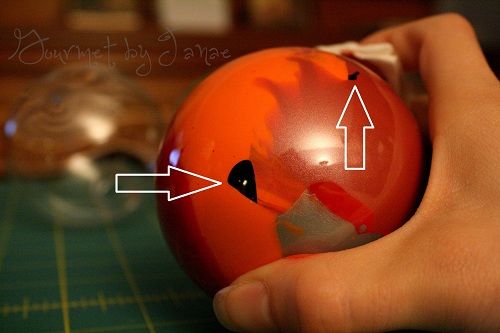
3. Cover the opening (I used a folded piece of paper towel and my thumb) making sure it is completely sealed, and shake the ornament like you're some kind of crazy person.

There may be small gaps where the paint didn't spread to, so I recommend firmly hitting those areas against your palm until some of the paint gets shaken into them.
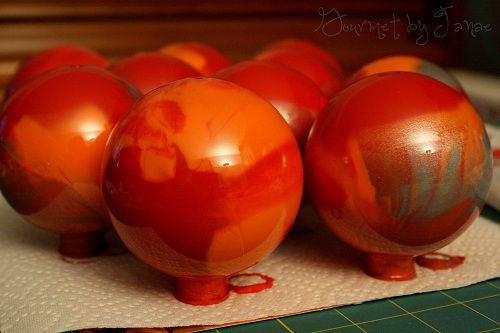
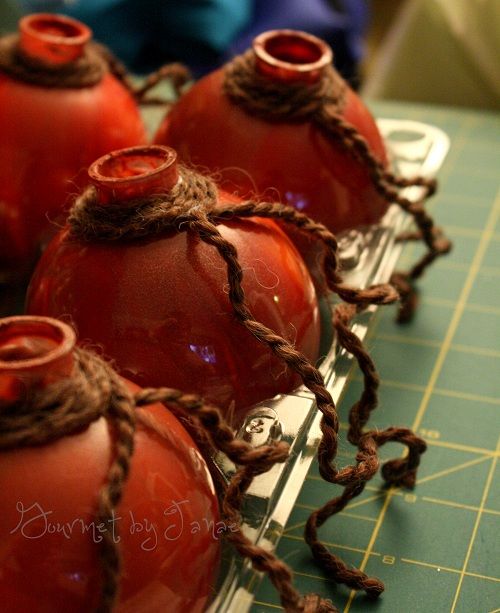
4. Let them sit upside down on waxed paper for 1-2 hours so that any excess paint drains out of them. You may need to wipe out just inside the opening to get all the extra unnecessary paint out. Then let them sit right side up over night to allow the paint can dry. If the paint still isn't dry after 24 hours, try using a hair dryer to speed up the process. But honestly, if the paint stays tacky (not drippy--drippy can be bad), it's not a huge deal because the paint is enclosed inside of the globe and won't get on anything.
 |
| Don't use a paper towel like I did for this part. It will seep through and some of the paint will dry to it and it turns into a huge mess. |

You may notice that the paint doesn't adhere to the glass/plastic in some places, creating this interesting crackle look. It'll happen more often if it doesn't dry. I find it unique and interesting, so I personally like it. If it bugs you, repeat steps 3 and 4, making sure the paint dries before repeating.

5. Add any additional decorations you want to the outside. I used ModPodge and alpaca yarn, dangly beads, and stamps and cardstock.


For storing these post-holidays, I recommend heading to Costco and buying a container of apples, eating said apples, and then reusing the plastic container. It's perfect for globe ornaments. You can also use it while making these to keep them from rolling all over the place.

Merry Christmas! Now get crafty and let me know if you make some of your own marbled ornaments. I'd love to see them!
cool! i think the boys and I might do this since they are off of school now for the rest of the month.
ReplyDeleteAwesome! I can't wait to see what they come up with!
DeleteCute! I love swaps. It's so fun to see what everyone makes and to get such a variety.
ReplyDeleteThanks, Lauren! I'm excited to see what everyone makes too.
Delete