Alright, it's official. I'm no longer posting here...
Because I'm starting to post on my new blog!
My first post went up there today. However, I'm waiting to throw a full-blown launch party until Monday next week so that I can work out all the kinks and problems. It still does have some little quirks, so please forgive me while I work those out.
Please, please follow me there! I'll be posting in Facebook and on Twitter as new posts go up, and once I get the RSS feed working and get links to other social media hubs up and running, you ought to be able to follow me as you please.
So go and see my latest post! There's a free printable template for some really cute Valentine candy boxes. I think you'll like them!

Showing posts with label hair accessory. Show all posts
Showing posts with label hair accessory. Show all posts
Wednesday, January 30, 2013
Tuesday, August 21, 2012
Paying It Forward
There’s a pay-it-forward crafty plan underway, and lots of bloggers appear to be joining in!
So, here’s how this pay-it-forward thing works:
I will send a surprise gift to the first three commenters on this post (and if there are more I might just send out more). The gift will be a handmade surprise by me and I will send it to you sometime in the next 365 days. All you need to do is the following:
I will send a surprise gift to the first three commenters on this post (and if there are more I might just send out more). The gift will be a handmade surprise by me and I will send it to you sometime in the next 365 days. All you need to do is the following:
- Leave me a comment and include your email address (if you profile doesn’t link back) so I can get in touch with you about your mailing address and some other information about yourself.
- To complete signing up, you MUST play along too by blogging a similar post and pledging to make a surprise for the first 3 people who comment on it.
So, do you want to play along?
Comment below, and I’ll send a thoughtful gift to the first three people who do.
Let's pay it forward to one another!
Comment below, and I’ll send a thoughtful gift to the first three people who do.
Let's pay it forward to one another!
Wednesday, July 25, 2012
My first milestone means... Giveaway time!
Guess what!
I woke up this morning (After sleeping in until 10!! Holy cow, my husband is the best.) and when I checked on my blog I cheered and yelled to previously mentioned best husband, "I have 1001 pageviews on my blog!" (And it's up even higher by now!)
From the title of this post, can you guess what that means?!
Time for my first ever giveaway!
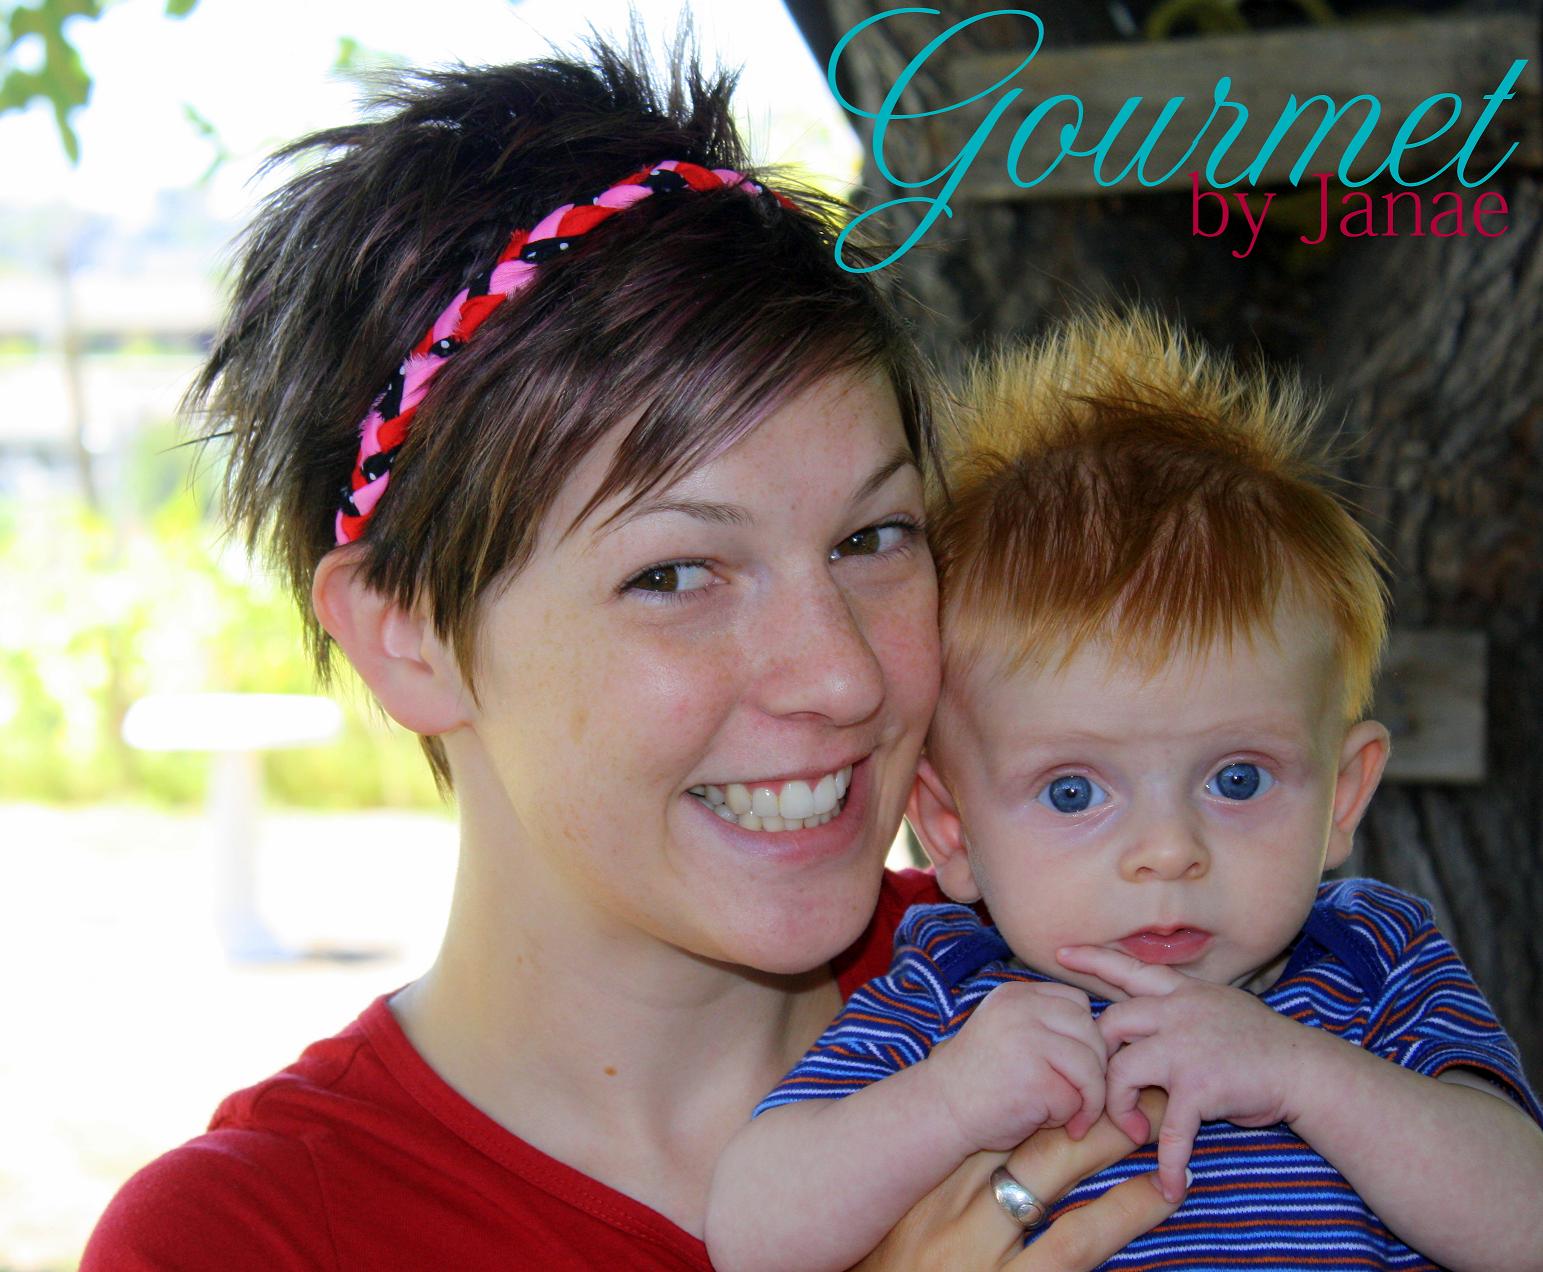
If you like the headband I posted about this morning, then you can win the one I used to demonstrate the steps for the tutorial!
I call it 'Love and Polka Dots' because it's made from pink, red, and black/white polka dot fabric.
And it's super cute!
( Like my sweet son, hence the picture with both.)


Enter here:
a Rafflecopter giveaway
That's it! Now go and tell all of your friends to come and enter too!
I woke up this morning (After sleeping in until 10!! Holy cow, my husband is the best.) and when I checked on my blog I cheered and yelled to previously mentioned best husband, "I have 1001 pageviews on my blog!" (And it's up even higher by now!)
From the title of this post, can you guess what that means?!
Time for my first ever giveaway!
If you like the headband I posted about this morning, then you can win the one I used to demonstrate the steps for the tutorial!
I call it 'Love and Polka Dots' because it's made from pink, red, and black/white polka dot fabric.
And it's super cute!
( Like my sweet son, hence the picture with both.)


Enter here:
a Rafflecopter giveaway
That's it! Now go and tell all of your friends to come and enter too!
Girls Camp Craft: No-Sew Braided Headbands
One of the crafts we made at Girls Camp this year were no-sew braided headbands. I'd gotten some feedback from the young women that this was a craft they wanted to do. They'd been found on Pinterest, and when I went looking for these I had to do some problem solving.


When I first searched and saw so many results, I thought, "Perfect! I won't have any electricity at our campsite so I won't be bringing my sewing machine anyway..."
And then I actually read over some of the no-sew headband tutorials.
They all required hot glue guns. Hot glue guns?! Those require electricity too!!
But I didn't give up. I thought about how to make these headbands work anyway. I debated over hand sewing them, super gluing them, tying them in knots, etc.
And then I found the solution. It involved a material from one of the other crafts for the week: embroidery floss!
Here's how we made them:
I ripped my fabric strips into about 1 inch widths. They were all between 20 and 30 inches long.


(Tip: Ripping fabric for something like this is far easier and much quicker than cutting strips, but only for woven fabrics. Just snip the fabric at one inch intervals, then rip each snip to the other end. Plus, it gives a fabulous frayed look to each braid.)

1. We safety pinned our fabric strips together and to the table cloth to braid them. It made them easy to work with.

Once they're braided, safety pin the ends to keep the braid from unraveling.

2. Take two skinny elastic hair ties and loop them together. (I recommend making sure the metal ends on them are on the outside where the fabric braid will cover them up.)

3. Safety pin one end of your braided fabric around one side of the elastic hair tie loops.

4. Here's the no-sew, no electricity solution! Using an arm's length of embroidery floss, tie it in a knot somewhere between the safety pin and the elastic hair tie, making sure to leave about a 2- to 3-inch tail of the floss on one side of the knot and the rest of the length on the other side.

Then, lay the short tail down along the braided fabric, and wind the longer tail of floss narrowly around the braid, keeping it between the safety pin and the elastic hair tie. Wind it really tightly!

Once you have only about 3 inches left of that longer tail, tie both ends of the floss together in a good ol' square knot. Trim the floss tails down to about a half or a quarter of an inch, and after removing the safety pin, trim any of the extra fabric as you desire.
5. Measure it around your head, looping the other side of the fabric braid through the other elastic hair tie, and once it's the right size, safety pin it into place. Repeat step 4 for this side of the braided fabric.

Voila! A legit, no-sew, no-electricity-needed, simple braided fabric headband!

One of the other leaders even used an extra strip of fabric instead of embroidery floss because we ran out of the color she wanted to use. Brilliant! There's no limit to what other kinds of supplies you could use for this method.
And these turned out so cute. Some girls did one braid, others (including myself with the sample headband) did two braids. I love how they look on, and they stay in place pretty well too!


This one is for sale in my Etsy shop. Have a look if you're interested!


And then I actually read over some of the no-sew headband tutorials.
They all required hot glue guns. Hot glue guns?! Those require electricity too!!
But I didn't give up. I thought about how to make these headbands work anyway. I debated over hand sewing them, super gluing them, tying them in knots, etc.
And then I found the solution. It involved a material from one of the other crafts for the week: embroidery floss!
Here's how we made them:
I ripped my fabric strips into about 1 inch widths. They were all between 20 and 30 inches long.


(Tip: Ripping fabric for something like this is far easier and much quicker than cutting strips, but only for woven fabrics. Just snip the fabric at one inch intervals, then rip each snip to the other end. Plus, it gives a fabulous frayed look to each braid.)


Once they're braided, safety pin the ends to keep the braid from unraveling.

2. Take two skinny elastic hair ties and loop them together. (I recommend making sure the metal ends on them are on the outside where the fabric braid will cover them up.)

3. Safety pin one end of your braided fabric around one side of the elastic hair tie loops.

4. Here's the no-sew, no electricity solution! Using an arm's length of embroidery floss, tie it in a knot somewhere between the safety pin and the elastic hair tie, making sure to leave about a 2- to 3-inch tail of the floss on one side of the knot and the rest of the length on the other side.

Then, lay the short tail down along the braided fabric, and wind the longer tail of floss narrowly around the braid, keeping it between the safety pin and the elastic hair tie. Wind it really tightly!

Once you have only about 3 inches left of that longer tail, tie both ends of the floss together in a good ol' square knot. Trim the floss tails down to about a half or a quarter of an inch, and after removing the safety pin, trim any of the extra fabric as you desire.
5. Measure it around your head, looping the other side of the fabric braid through the other elastic hair tie, and once it's the right size, safety pin it into place. Repeat step 4 for this side of the braided fabric.

Voila! A legit, no-sew, no-electricity-needed, simple braided fabric headband!

One of the other leaders even used an extra strip of fabric instead of embroidery floss because we ran out of the color she wanted to use. Brilliant! There's no limit to what other kinds of supplies you could use for this method.
And these turned out so cute. Some girls did one braid, others (including myself with the sample headband) did two braids. I love how they look on, and they stay in place pretty well too!


This one is for sale in my Etsy shop. Have a look if you're interested!
Subscribe to:
Posts (Atom)